How to Make a Twitch Overlay That Stands Out
“Stand out from the crowd” – as a streamer just starting out, you hear this drum beaten in almost every guide and tutorial. And you hear it for a reason – with hundreds of thousands of channels going live every day, Twitch is indeed a crowded place. So how do you do this ‘standing out from the crowd’ thing? The first thing that comes to mind is unique content and your personality, but even the most unique content deserves visually pleasing packaging. Here’s where knowing how to make a Twitch overlay comes in handy.
- What is a Twitch overlay
- Why do you need a Twitch overlay
- How to choose your overlay elements
- How to create a Twitch overlay
What Is a Twitch Overlay?
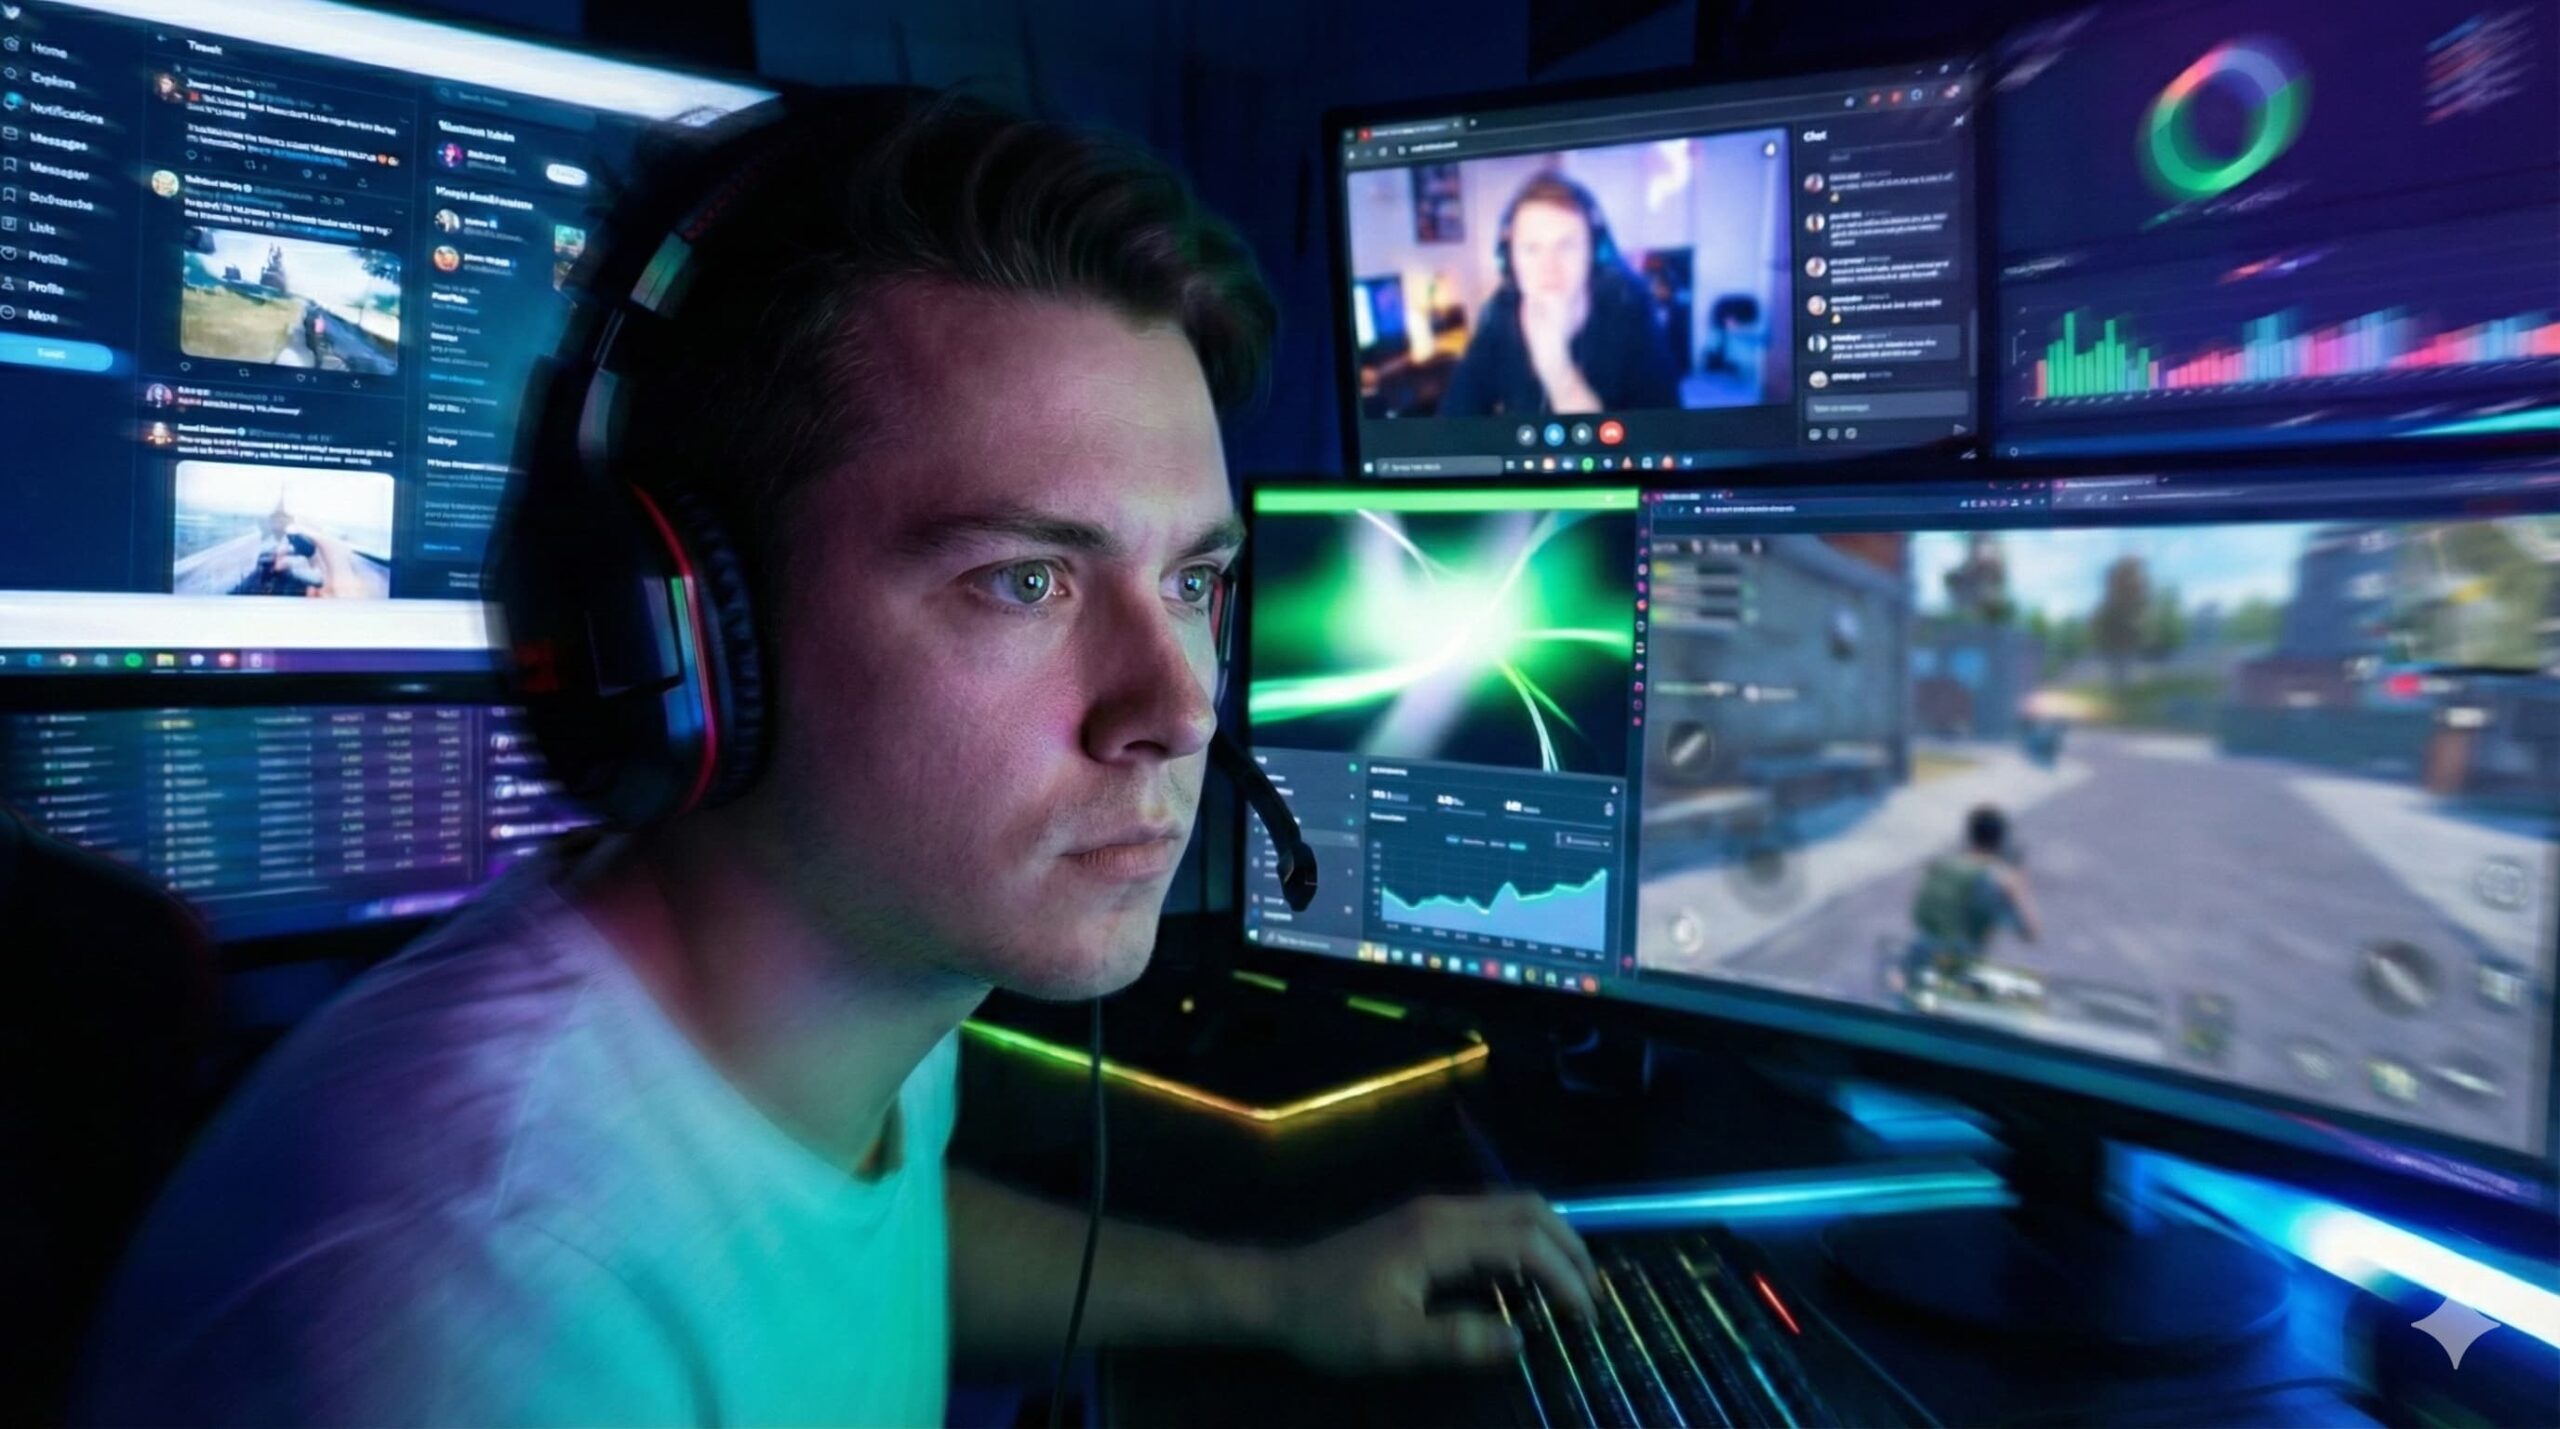
Simply put: a stream overlay is a transparent layer covering your whole stream, that allows you to display various graphics, animations, and frames over the gameplay. The overlay may be used in multiple creative ways:
- displaying your webcam picture
- playing animations for notifications about donations, bits, and tips
- organising the stream display area with frames and graphics
- displaying your sponsor logos
- showcasing recent subscribers, followers, donators
By any means, this is not a closed list of possible uses for overlays and everyone can find unique and innovative uses for it.
Why Do You Need a Twitch Overlay?
The Twitch overlay is a way you can customise your broadcast. So it fits your style of streaming and the general vibe of the channel. It is not only a flashy gadget to dangle in front of your audience’s eyes. The way your stream looks and is organised should be something unique to you, so it creates your brand as a streamer. The more thought, creativeness, and effort you put into it, the more individual your stream becomes and the more professional you will appear. It will definitely help you attract more viewers and have your stream stand out.
Another extremely important role a stream overlay plays in your stream is keeping the audience engaged in your content. By displaying information about the current game, alerts, and notifications about recent events, such as donations, subscriptions, and follows you are passively encouraging viewers to do support your channel and react to displayed events. Not to mention that displaying a nick of the person following or tipping you is a great form of appreciating their gesture.
How to Choose Your Overlay Elements?
With plenty of options at your disposal it may be challenging to decide what you want to include in your Twitch overlay and how should it look like. When deciding on a stream overlay keep in mind that it should always enhance your content, not distract from it. As a result, with a huge list of possibilities, it is tempting to add ‘just one’ more frame or gadget. Remember not to overdo it though. At the end of the day, people come to your stream for your content and not because of the twenty different frames you have managed to mash on one screen.
Now, think about what is the main focal point of your broadcast. Do you stream mostly in ‘Just Chatting’? Placing a chat box in your Twitch overlay will help people follow the discussion more easily. Do people watch you for your game skills? Then adding super-bright, flashing animations will distract people from focusing on your game. Is MMO your thing? With millions of skill icons on the screen, adding thick and broad lines on overlay elements will only obstruct the view. Do not worry if your stream is not focused on one thing! It is possible to prepare and use different overlays for different games but still, it is a good idea to keep these in a similar style and ‘vibe’.
How to Create a Twitch Overlay?
In general, there are three ways of creating overlays for your channel. You can make all the elements yourself in graphics design software (Photoshop, GIMP, etc.). Or pay an artist to do that for you. Or just get ready-to-go overlays and templates from one of the websites offering these.
- DYI overlay. In its simplest form, a stream overlay is nothing more than a .PNG image with a transparent background. By using Photoshop or other graphic design software you may be able to prepare one yourself. There are plenty of tutorials on this topic on the Internet. This is only a start though. Adding more interactive overlay elements and animations will require a bit more skill and time.
- Ordering custom Twitch overlay. Usually, this way is chosen by professionals. Streamers working full-time and having their brand well-established can afford to pay extra for fully customised overlays to artists and graphic designers. While these may look amazing, as a beginner streamer you probably would rather want to wait with jumping on this wagon.
- Using overlays from existing sources. This is by far the easiest and fastest way to implement overlay elements on your stream. There are various websites offering this kind of service. By using available templates you get very elaborate, animated overlays that look awesome and may even be implemented straight from OBS. You can check what we mean by visiting Own3D.pro. It is one of the most popular ones out there and has a 50% discount for inStreamly users.
As you may see, choosing the overlays and implementing them to your stream is not as trivial as it might seem at first glance, but once you have put some thought into it vastly enhances your broadcast. With the right Twitch overlay, your streams will not only be more professional. Theywill also be more engaging for your audience, creating a space that viewers enjoy hanging around.


