5 Steps to Launch Your First Twitch Stream
So, you’ve done all your research on how to become a game streamer, have an idea for your channel and a plan for growing it – it’s time to get down to business and actually start streaming (yay!). In this guide, we will walk you through the basics of setup one step at a time. We will use Twitch as the example, as it is the biggest platform for streamers at this time. While some steps might differ for YouTube or Facebook gaming, overall direction stays the same for all platforms. So, without further ado, let’s launch your first Twitch stream.
A Step-By-Step Guide to Launching Your First Twitch Stream
- Create an account
- Choose and download broadcasting software
- Check your hardware
- Get additional gear for your first stream
- Pimp out your stream
- What is next?
Step I – Create an Account
This is the most obvious starting point for anyone who wants to get their name out there. So head on to Twitch and:
- Read Community Guidelines: seriously – do it. You will learn how to avoid some unpleasant issues further down the road.
- Create your account: click the Sign up button, fill in the form, and you’re done. If you’re doing it on a mobile phone though, you’d need to download the Twitch app first.
- Enable two-factor authentication: without it, you will not be able to stream on Twitch. You cannot do that solely with your mobile device, so do it from your computer. Note that you will need your phone to do that as well.
Step II – Choose and Download Broadcasting Software
In general, there are two types of encoders you might use for broadcasting: hardware and software. For your first live stream, go with a software encoder. They are easier to use and generally more affordable. There are plenty of broadcast studios out there, so pick one of the most common ones:
- OBS Studio: free, open-source software, arguably the most picked one by beginner streamers.
- Streamlabs OBS: free and premium versions available, lots of features to help customise your channel, available only on Windows though.
- Twitch Studio: Twitch’s own broadcasting software, it’s natively integrated with Twitch and offers easy access to customisable options, the minor downside of it is that it’s still in open beta – it is a good choice for your first Twitch stream though
- XSplit: though it has some free features, it’s usually the choice of slightly more advanced creators willing to pay for additional features.
- vMix: most definitely a software for pro-streamers. Packs a bunch of advanced features, 4k streaming, and great customer support. Think about it once you are ready to go all-in pro.
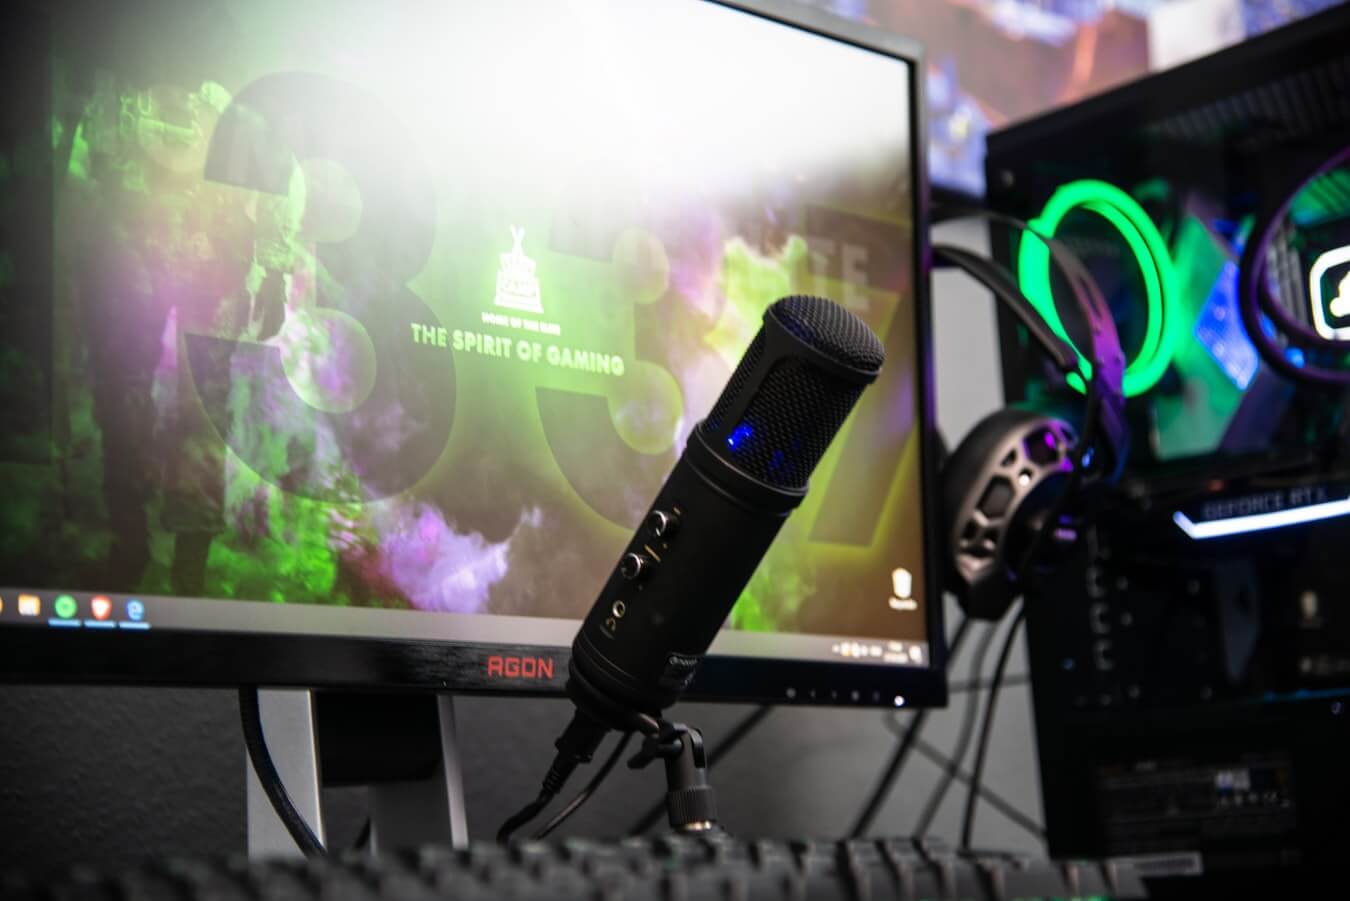
Step III – Check Your Hardware
Twitch allows for streaming with multiple gaming platforms. You can stream on Xbox, PlayStation, smartphone or PC. While all these are valid choices, PC provides the widest choice of customisation options for your broadcast channel.
While you do not need an over-the-top PC setup to start your first stream, this does not mean though you may do it on that old IBM sitting for a decade in your basement. Encoding, streaming, and playing games at the same time require a modern CPU that can handle multitasking easily, so you should aim for something like i5 or above with at least 8 GB of RAM memory. While broadcasting does not impact your graphics card performance all that much and Twitch does not support 4K streaming anyway (YouTube does though), so technically any GPU should do, but do remember that no one likes to watch slide-shows, so consider at least a mid-range one.
Step IV – Get Additional Gear for Your First Stream
While gameplay on a stream usually takes 90% of the screen, it does not mean that simply transmitting your gameplay will do the trick. Streaming is all about creating community and engagement between creators and viewers. This means you will need at least basic gear to be able to do it.
- Microphone – of course, you will need one. For the very beginning of your first game live stream, a microphone integrated into gaming headset should do, but if you want people to hear you clearly and understand what you are saying without any issues, consider going for a standalone microphone from the get-go.
- Camera – while it is completely optional, we heavily recommend getting it. Viewers stick around channels for the streamer’s personality and seeing an actual person, with their facial expressions, gestures and emotions complete the overall experience.
- Lighting – proper lighting around your desk will help the audience see you better, so it is a good idea to get some LED softboxes.
- Green screen – if you don’t want people to see that pile of dirty clothes in the corner of your room, a green screen is your friend. Most broadcast software should have no problem detecting it, so using one is super easy.
- Game capture card – not cheap, but essential if you want to stream console gameplay through PC.
By any means, this is not a closed and complete list of hardware but should get you more than covered for your first stream. With time, most likely you will want to experiment with additional features and gadgets to aid and improve your stream. As with any hobby, you are the only judge of how deep down the rabbit hole you’re willing to go.
Step V – Pimp Out Your Stream
Once you have your software all set up and configured, consider a few additional things before you hit that ‘GO LIVE’ button.
- Configure all necessary scenes before your first stream. The scene is basically the layout of all the content transmitted during your stream. Scenes may include inputs from audio devices, animations, games, cameras, and many more. If you plan to switch between content during your stream session, it is a good idea to have different scenes for each one.
- Set welcome/starting soon screen as one of your scenes. This screen will inform your viewers how much time remains until you will go live. It’s especially useful in combination with different ways of sending alerts.
- Let your viewers know you are streaming with alerts. Although Twitch sends alerts to your subscribers that you are broadcasting automatically, these are not the fastest ones and may reach your fans with delay. There are various tools and plugins you may use to let people know you’re streaming and we recommend to experiment with them on top of Twitch’s own alert system.
- Search for stream overlays. Overlays can be used to customise your channel and make it more attractive to watch. You can find many styles on the Web, both free and paid ones, so feel free to explore!
- Check out Twitch plugins. These are interactive panels and overlays that may give your viewers possibilities to see your live game stats, add reactions, play mini-games and much more.
- Choose the right tune for your background. Playing copyrighted music during your stream is a big NO-NO and may easily result in DMCA strike. You can read on what music to pick in our “Play that tune right” guide.
- Setup chatbots. These small programs will help you a lot in managing your chat moderation, sending simple welcome messages, or protecting you and your community from link spammers.
What Is Next?
The direction you take your channel after your first Twitch stream is entirely up to you. Interact with the audience, nurture a strong community, build relationships with other streamers, and learn as much as you can.
- How to become a streamer? A beginner’s guide
- Easy to get into, difficult to master – how to monetize Twitch stream?
- Play that tune right – learn how to play music while streaming without infringing copyright
- From rags to riches: the story of Ninja and how you can follow his journey to the top
- How should streamers work with brands?
- How to attract viewers and have your stream stand out?
- Streaming: 10 tips for getting started
Most importantly – have fun, streaming is an amazing way to express yourself, so keep doing it and stay authentic!